Tuesday, September 27, 2011

Ultra Healthy Turkey Meatloaf

You'll need:
1 package of ground turkey
1 red bell pepper
1 medium onion (yellow)
1 medium onion (red)
Garlic
Worcestershire (~2 tbsp)
Ketchup (or tomato paste- whatever you have)
Dry mustard (if you have it)
1 Egg
Quinoa (1/4 - 1/2 c)
S&P
Tabasco
Chiles in Adobo Sauce (if you like it spicy)
Splenda Brown Sugar

This was a week where I had no energy for deciding on specific meals for every night of the week, so I decided to go to the grocery and grab staples... Chicken, ground meat, ground turkey, and thinly sliced pork chops. This particular weeknight, I decided to treat Mike to meatloaf, but didn't have enough bread in the house to make homemade bread crumbs for my normal recipe. So I turned to this one, which substituted quinoa.
I got several, very large, red bell peppers on sale, so I decided to add some extra veggies to the recipe.
I started by sauteing chopped onion in a non-stick skillet with cooking spray. Then I added a chopped bell pepper, and some chopped garlic (you decide how much you want to use)...
Once the vegetables were soft, I let them cool for a bit, then mixed them with the ground turkey, egg, S&P, Worcestershire, ketchup, cooked quinoa, and Tabasco.
I decided to add a couple of chiles in adobo sauce (chopped from the food processor) because I had them left over in the fridge.
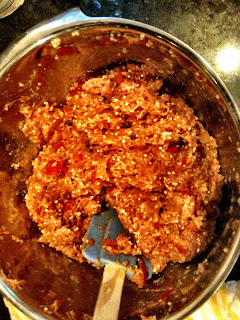
After mixing all the ingredients together (I've learned not to mess with it too much or it will fall apart... trust me), I sauteed a red onion that I'd chopped into rings. Just heat up some olive oil, let it saute for a few minutes, then add about 1/4 c of water, and let it heat away.

I formed the loaf on a baking sheet covered in foil, and then mixed up a little ketchup, brown sugar, and dry mustard to make a coating.
Once the red onion slices were cooled, I layered them on top of the meatloaf.

I cooked it at 350 degrees for around 5o minutes, then let it sit for about 15 minutes. It turned out with just the right amount of spice! I served it with fingerling potatoes and some sauteed kale, and it was a great treat of comfort food for an otherwise drab Monday.

**One blunder I have to share was the time that I decided to add Flax Seed to my meatloaf... I figured it was a great idea to add some extra nutritious value to our meal, so I just poured it in... However, for anyone who has ever consumed flax seed, you know it sort of expands in your stomach. We were able to eat about 3 bites a piece, and that was it. So if you're going to add it, make sure you measure!

Sunday, September 25, 2011

Sauteed Pork with Granny Smith Apples

We were having a couple of friends over for dinner, so I decided (again) to make a dish that wouldn't keep me from my company. Lo and behold, the easiest dish to serve! I chose Real Simple's recipe for Pork with Sauteed Granny Smith Apples because it always turns out delicious, and it's not labor intensive.

You'll need:
Flour (I used wheat) 2 tbsp
Ground Cumin (1 tsp)
S&P
Pork Cutlets (however many you're serving, I usually do around 2/person)
Canola oil
Butter (1 tbsp)
Granny Smith Apples
Low-sodium Chicken Broth (1/2 - 3/4 c)
White Wine Vinegar
White Wine
Shallots ???
Cornstarch (~1-2 tbsp)

I started by rubbing the pork cutlets with S&P, flour and cumin on both sides.

Next, I heated the canola oil (however much you want to use) in the pan, sliced the apples in half, sprinkled them with S&P,and put them face down for around 3-5 minutes.

Once the apples were browned, I took them out and put them on my display plate. Then I added the pork, with a little more Canola Oil, and browned it on both sides (around 4 minutes each side).

I removed the pork, put it in a casserole dish with tented foil, and stuck it into the oven at a low 200, just to keep it warm.
Next, I added the white wine to deglaze the pan; then, white wine vinegar, some shallots (because I had them), and cornstarch to thicken up the sauce. I let that simmer for around 5 minutes, then poured it into a serving dish to put onto the table!

I served the pork with the apples, a side of asparagus, and some mashed sweet potatoes. It was a great dish, requiring very little effort from me, and a lot of payoff!


Sunday, September 18, 2011

Spicy Shredded Pork

If you haven't yet discovered The Pioneer Woman, Ree Drummond, you should, and soon. She is a city girl, turned ranch-wife who comes up with amazing comfort food recipes, and outlines how to make them so that anyone can follow the steps.
This particular week, I decided to make her Spicy Dr. Pepper Shredded Pork, but with some slightly healthier twists.
You'll need:
1 onion chopped into wedges
1 Pork Shoulder (it's called "Boston Butt" at the store... very appetizing, but I promise it's worth it) - I used a 3.5 lb one
S&P/Garlic Salt
1 Can of Chipotle Peppers in Adobo Sauce
1 bottle of Diet Dr. Pepper
Splenda Brown Sugar
Minced Garlic

Literally, this dish took me 5 minutes to prepare before I could let it sit in the oven all day. It also made my house smell amazing.
I started by preheating the oven to a low 300 degrees, then rubbed S&P and some garlic salt on the pork, and sliced some slots in the meat to stuff some of the minced garlic.

Next, I cut the onion into wedges and placed it at the bottom of my Dutch Oven.
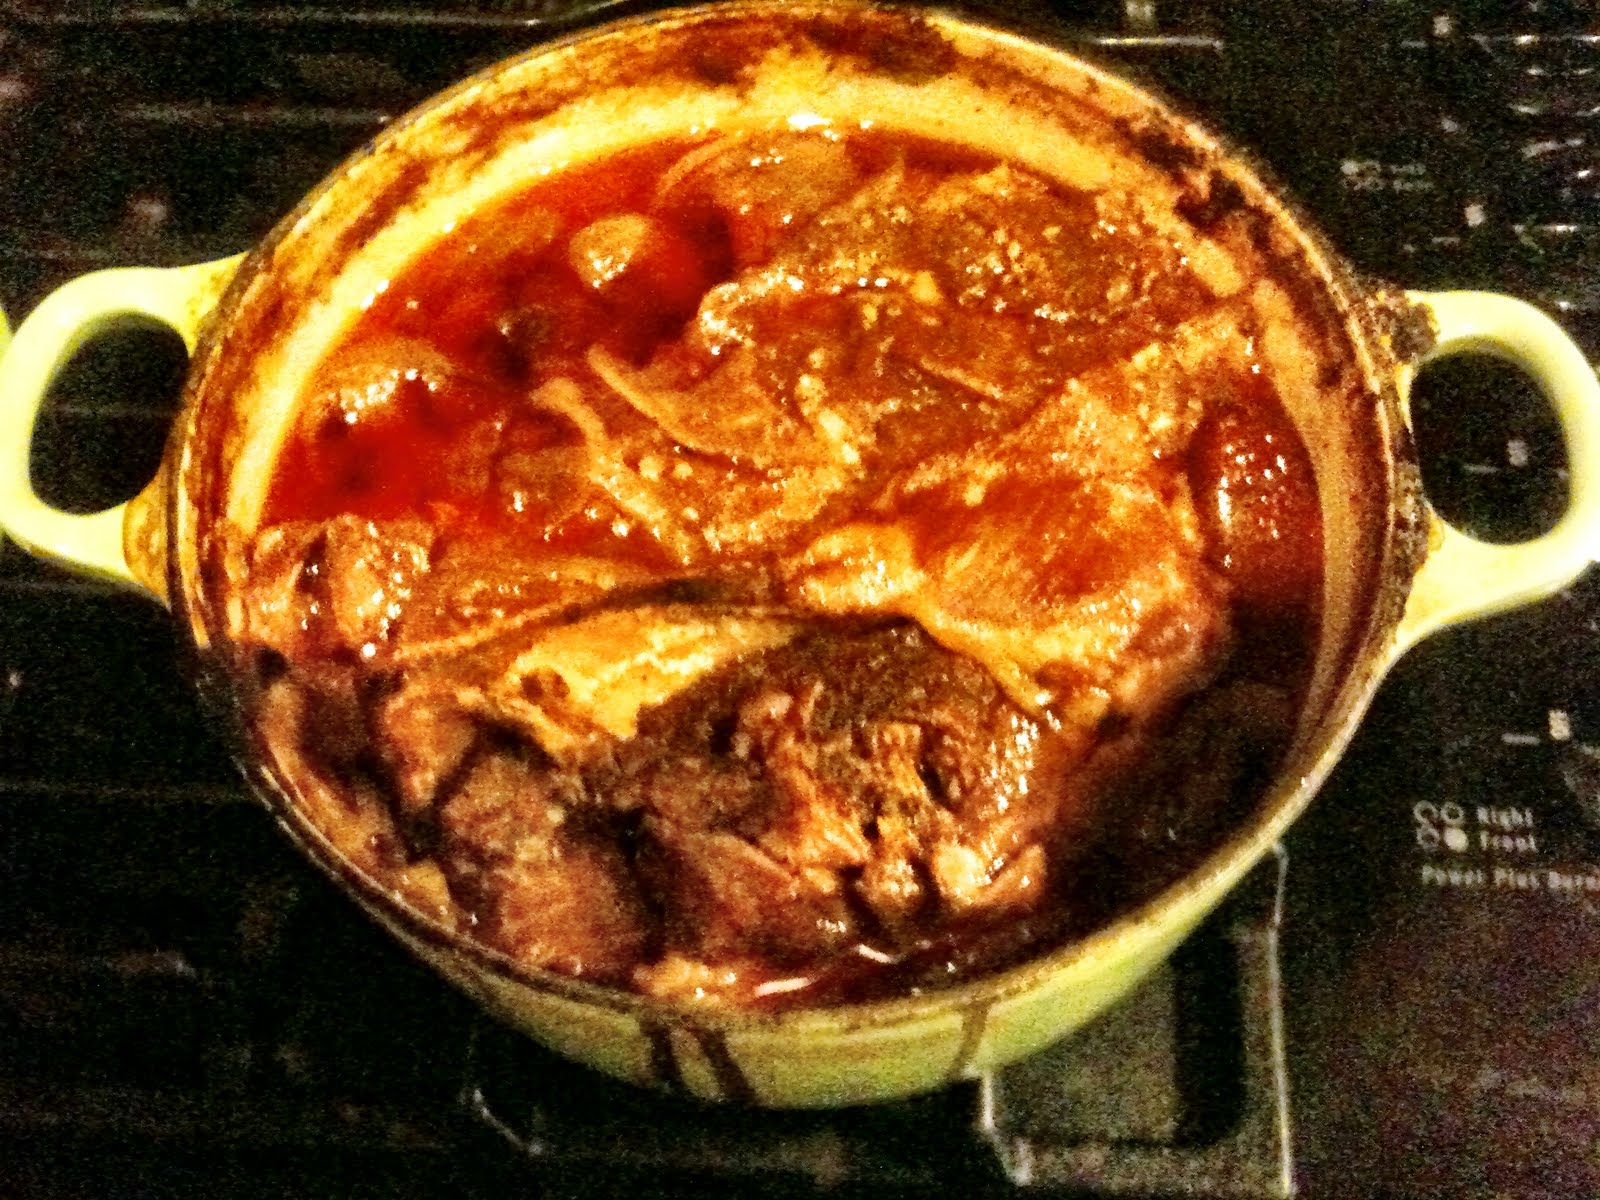
I put the seasoned pork on top, and poured about 3/4 of the Diet Dr. Pepper over it, and added the entire can (with sauce) of the Chipotle pepppers. They are VERY spicy, so be cautious if that's not your preference. You could probably substitute Green Chiles instead.

Next, I placed my covered Dutch Oven in the oven at 300 and let it go for about 2 hours. I flipped it, let it cook another 2 hours, flipped, and another 2 hours (that's 6 hours total for you Math whizzes).


You know it's done when you can pull out the bone with no resistance. Unfortunately, Marley is allergic to meat protein, so she couldn't enjoy the actual rawhide that came out of this cooking venture :(
I took the meat out of the sauce, and used 2 forks to "pull the pork", also able at this time to separate out the fatty pieces.

Inspired by Vizard's Pork and Beans dish, I added a can of rinsed/drained Pinto beans to the sauce only; then I refrigerated both separately until the next day. When I took out the sauce in the morning, I was able to scrape the fat off the top since it had hardened.
When I was ready to serve it that night, I put the meat and sauce into a casserole dish, covered it, and baked at 350 for about 25 minutes.
I served this with some leftover sweet potatoes, and had a very happy husband!


Wednesday, August 31, 2011

Panko-Crusted Salmon with Orzo and Mango Salsa

You'll need:
Salmon filets (I used 2)
Soy sauce (~3 tbsp)
Toasted Sesame Oil (~1 tbsp)
Worcestershire (~1 tsp)
Wasabi powder (~1 tsp)
[Wheat] Panko Bread Crumbs (~1/4 c)
Toasted Sesame Seeds (~2 tbsp)
Edamame (or green peas, or any other vegetables of your choosing)
Boxed orzo pasta (really fancy, right?)

For the salsa:
1 mango (peeled and chopped)
1 avocado
1/2 red onion (small)
apple cider vinegar (~1 tsp)
olive oil (to taste)
agave nectar (to taste)

This super easy salmon dish only took around 30 minutes (because that's how long the rice took...) to make and tasted way more decadent than the work it took to prepare.

I started by following the directions on my multi-grain boxed rice with orzo pasta (which consisted of "pour rice into boiling water, add seasoning packet, let simmer for 32-37 minutes")...
While that chef-created masterpiece was simmering, I mixed the soy sauce, toasted sesame oil, and worcestershire in a bowl, and marinated the salmon filets for around 20 minutes (flipping after 10).
Next, I mixed the panko, wasabi powder, and toasted sesame seeds in another bowl, and dipped the salmon into it, hoping it would stick... it did.

I added some olive oil to a non-stick skillet, and while that was heating, I worked on a little mango/avocado/red onion salsa. I simply mixed all the ingredients in a small tupperware container (knowing I'd want to save the leftovers), and shook it up.

I cooked the salmon for around 5 minutes on each side, and they were done perfectly! Such an easy and healthy option for dinner, I often will cook a salmon filet when Mike chooses to have steak. But this made a perfect dish for girls' night at my house, and was very well received!


Monday, August 22, 2011

Turkey Osso Buco

On Sundays, I prefer to have a more labor-intensive cooking day because it's one of the days I have time to spend in the kitchen. This past Sunday, we were having my dad over for dinner, so I decided to cook Giada's Turkey Osso Buco. It tastes so delicious, and makes even better leftovers, so even though it's a little intense, it's SO worth it!

You'll need:
1/2 breast of turkey (cut into 3 pieces) and 2 turkey thighs (if you like the dark meat)
S&P
1/3 c flour (I use whole wheat)
1/2 c vegetable oil
1 medium to large onion (yellow), chopped
As many carrots and celery stalks as you'd like (recipe calls for 1 each but I usually at least quadruple it for extra veggies)- put those in the mini-chop, too
Tomato paste (recipe calls for 1 tbsp, but again, I at least doubled it to thicken the sauce)
1c (or so) of dry white wine
4 c chicken broth (I used vegetable broth)
Rosemary, Thyme, bay leaves, and garlic (lots of garlic)


I started by chopping (in the food processor) 4 carrots (peeled), 1 onion, and 3 stalks of celery


Next, I cut the turkey breast and dried it with the turkey thighs with a paper towel. Then I covered them with salt and pepper and dredged them in all-purpose flour.


Next, I heated up my roasting pan with some vegetable oil and browned the turkey on both sides for about 6-7 minutes each over medium heat.
Once the turkey was browned, I removed it and placed it on a plate. I added all my chopped vegetables, along with S&P, oregano, thyme, and rosemary (all dried because I didn't have it fresh), and cooked the vegetables until they were tender (~5 minutes).
Next, I added 1c of white wine, and let it simmer. I forgot to add the tomato paste until after I'd already put the turkey back in... but it worked out ok.

Once it was done simmering and reduced by about half, I put the turkey pieces back into the sauce, and added about 1/2 small can of tomato paste, 3 cloves of garlic, and enough vegetable broth to cover 2/3 of the turkey pieces. I covered it tightly with foil and baked for 1hr and 50 minutes, turning the turkey pieces about halfway through.

It turned out great and everyone was really pleased. My substitution of vegetable broth actually made it a little less rich, which was a good alternative to an otherwise filling dish. This is a healthy way to have some comfort food, and the leftovers are outstanding!

Wednesday, August 10, 2011

Mini Dinner Party: Goat Cheese Stuffed Chicken with Fingerling Potatoes


When I have people over for dinner, I like to choose easy recipes that won't keep me in the kitchen the whole night. For Sunday dinner this week, we had our families over, and I decided to make a mixture of this recipe and this recipe from Bethenny Frankel's "Naturally Thin" cookbook.
In the morning, I took out the chicken breasts, poked holes in them with a fork, and marinated them in 1 container of Fage greek yogurt, Worchestershire, garlic salt, pepper, lemon juice, Tabasco, and Dijon mustart. I refrigerated it all day until around 30 minutes before our company arrived.
Next, I mixed some Sundried Tomato goat cheese (I had lots of tomato-haters so I didn't want to use the actual tomatoes), italian seasoning, salt and pepper, and sliced pockets in the thicker sides of the chicken breasts. I stuffed around a spoonful and a half into each breast, and warmed the pan with olive oil.


I couldn't pass up these fingerling potatoes at the grocery just for their packaging!


I sliced them into around 4 pieces each, sliced an entire red onion, and put them into a casserole dish with olive oil, salt, and pepper. Then I covered them with foil and baked at 375 for around 45 minutes while I focused on the chicken.


I placed the chicken into the pan with the warmed olive oil, and cooked it until it was browned on both sides (around 8-10 minutes per side). Then, I placed each piece into a casserole dish, covered it with foil, and turned down the oven so that I could keep them warm with the potatoes.
Next, I deglazed the pan with some white wine (around 1 cup), and scraped all the bits and pieces off the bottom. I added some soy milk (around 1 cup), minced garlic, and salt and pepper, and let it all come to a simmer for a few minutes. It wasn't thick enough for my taste so I added some Cornstarch.

He just wanted to be in a picture...

While my sauce was simmering, I took a minute to admire my table with all my favorite patterns on it.

Everything was warmed at the same time, and served up! Delicious, AND I had time to spend with my guests!
(Salad with caramelized peaches and walnuts)


Pizza Night

I love having pizza for dinner because it's a way that we can each customize our own serving to be exactly what we want. I start buy buying the dough from Whole Foods (at the pizza counter, you can ask for enough raw dough for 1 large pizza, cost is only around $3).
We start by rolling the dough out (make sure you put some flour both on your rolling pin and your pizza stone to prevent sticking)

Once we designate the two servings, I bake the crust for around 8-10 minutes in a 400-450 degree oven in order to get the bottom extra crispy. Then, we dress the pizzas the way we prefer. I did mine with a spinach/pesto base, he uses marinara smooth style.

Next, I added left over sauteed vegetables (zucchini, red onion and mushrooms) along with a sprinkle of mozzarella. He added lots of mozzarella and deli sliced pepperoni. We baked them at 400-450 for around 15-20 minutes, or until they were bubbling, and let them cool for a few minutes. While mine was cooling, I added some crumbled goat cheese to the top for some extra flavor. I find another great, low calorie, addition is Jennie-O's lean turkey bacon. At only 20 calories per slice, it adds a lot of flavor and extra protein.

Slice and serve!